Define your Deal's Geography Workflow
This section guides you through the workflow for setting the Country, State, City, Zip code targeting, and Geo Fencing parameters in the Deal Portal. For the Define your Deal's Geography field details, see the Data Dictionary for Define your Deal's Geography section.
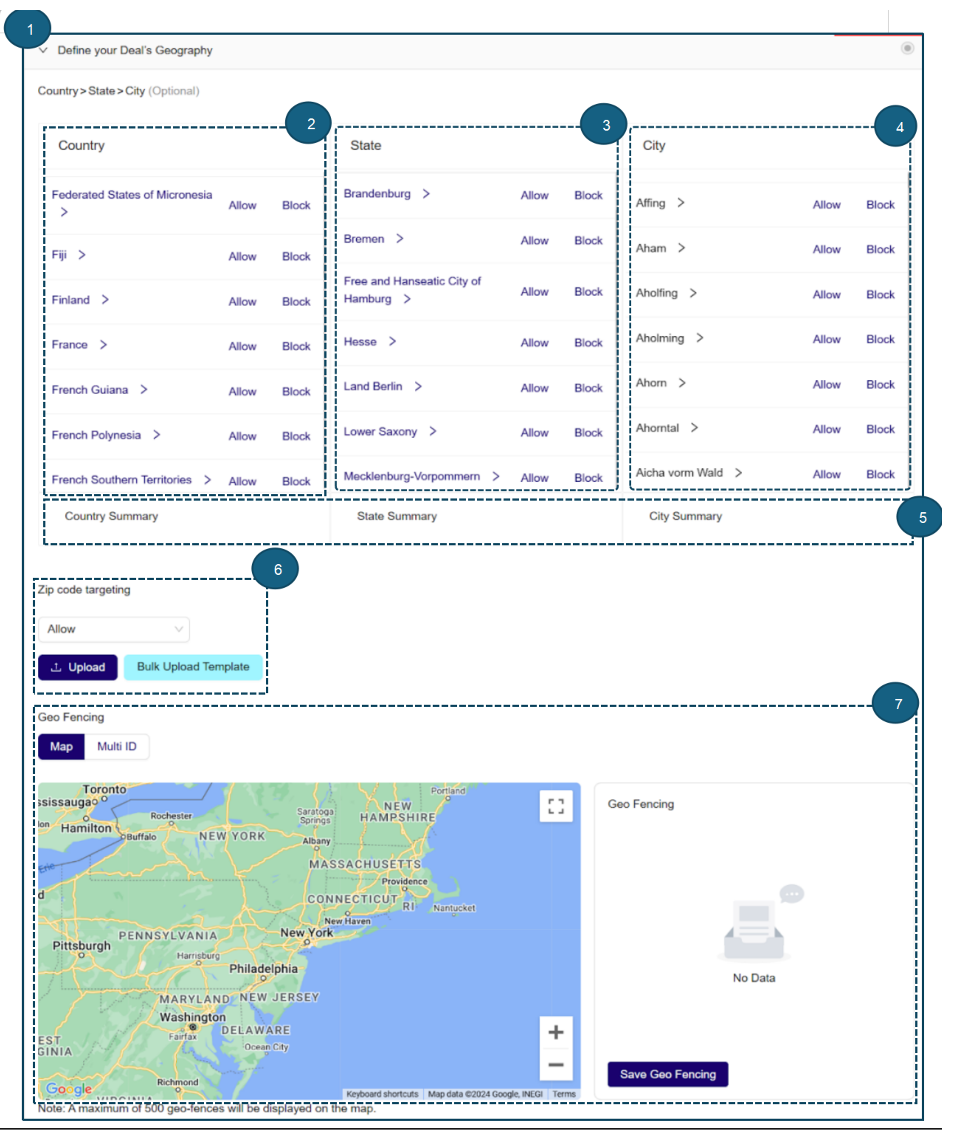
Define your Deal's Geography
Follow these steps for setting your Define your Deal’s Geography parameters:
1. Define your Deal’s Geography
- Click to expand the Define Your Deal’s Geography section. This section allows you to target your deal based on country, state, city, zip code, and geo fence.
2. Country (Select your Country level settings)
- In the Country column, you will see a list of countries available for deal targets.
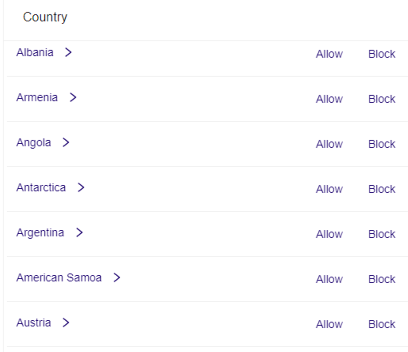
To view list of countries available for deal target
- Select the country you want to target for your deal. For example, the Figure below shows Germany selected as the target country.
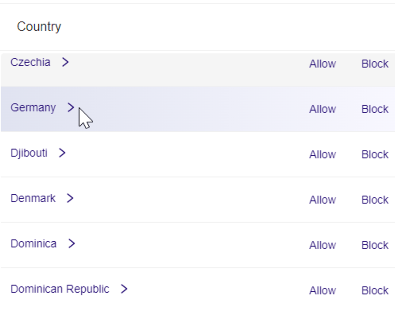
Select country for deal target
- For each country, you can click either Allow or Block to define the targeting rule for that country.
- Click Allow to include the country in your deal. This will give you further control to allow or block the deal at the state or city level within the country.

Click Allow to include country in deal
For example, the Figure below shows that selecting Allow for Germany in deal targeting provides further control to allow or block the deal for specific states and cities within Germany.
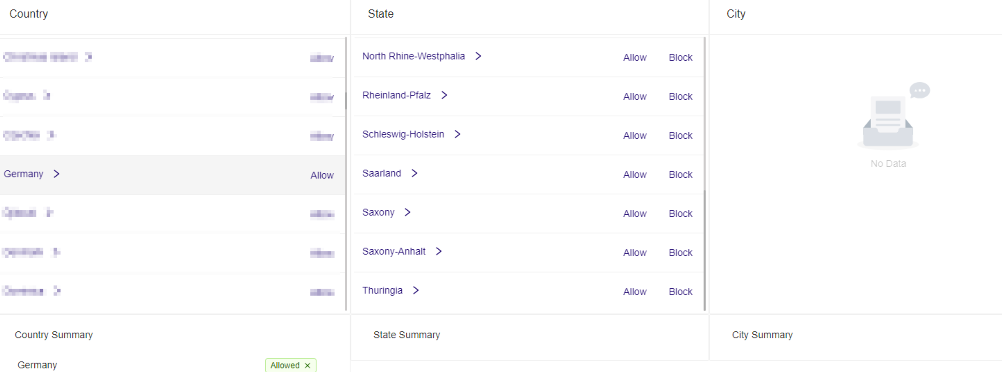
Allow country in deal target
For example, the Figure below shows that selecting Block for Germany in deal targeting will exclude the deal for all states and cities within Germany.
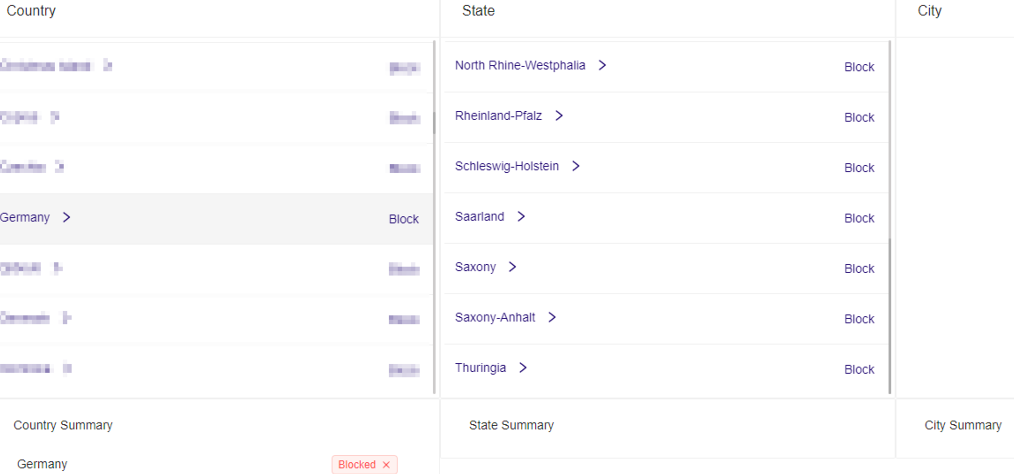
Block country in deal target
3. State (Select the State level settings)
- In the State column, you will see a list of states available within the country for deal targeting.
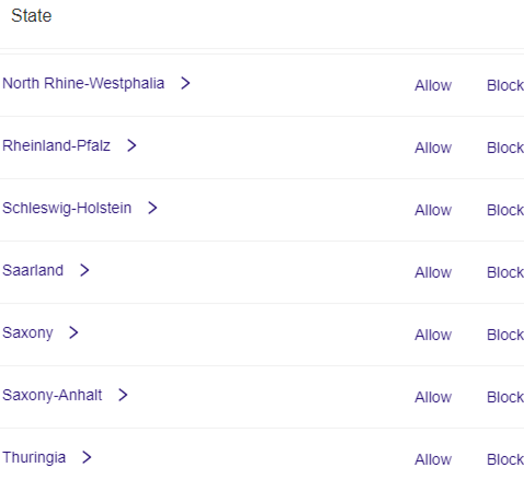
To view list of states available for deal target
- Select the state you want to target for your deal within the country.
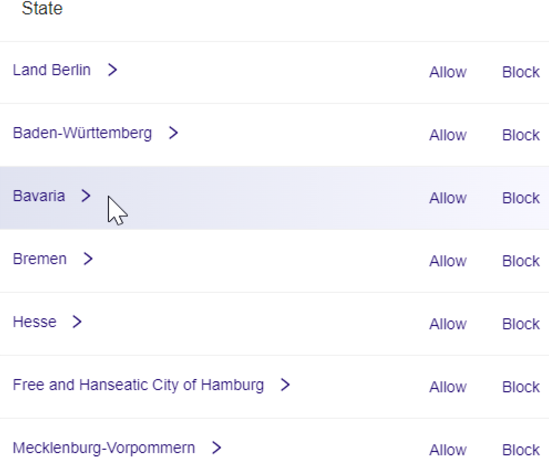
Select state for deal target
-
For each state, click either Allow or Block to set a deal target at the state or city level.
- Click Allow to include the state in the deal, which will include all cities within that state.
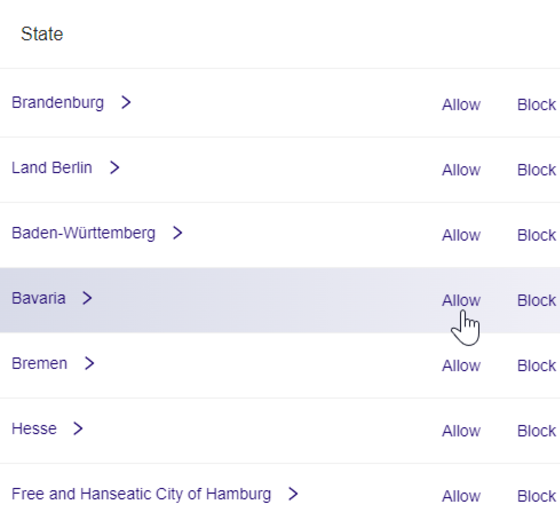
Click Allow to include state in deal target
- Click Block to exclude the state from the deal. This will also exclude the deal in all the cities within the state.
The Figure below shows that selecting Block to exclude Bavaria from deal targeting will also exclude the deal for all cities within Bavaria.
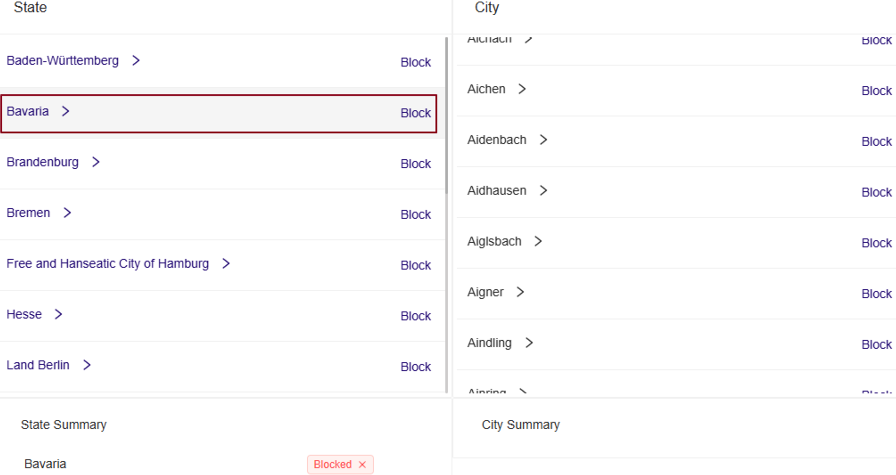
Block state from deal target
- If no states are required for deal targeting, you can skip this step.
4. City (Select the City level settings)
- After you click the > next to the state name, the City column will populate to display the cities within that state.
- Select the city you want to target for your deal within the state.
- For each city, click either Allow or Block to set the deal target at the city level.
- Click Allow to include the city in the deal.
- Click Block to exclude the city in the deal.
For example, the Figure below shows that selecting Allow for Neunburg vorm Wald as a city will include it for deal targeting within Bravaria state in Germany.
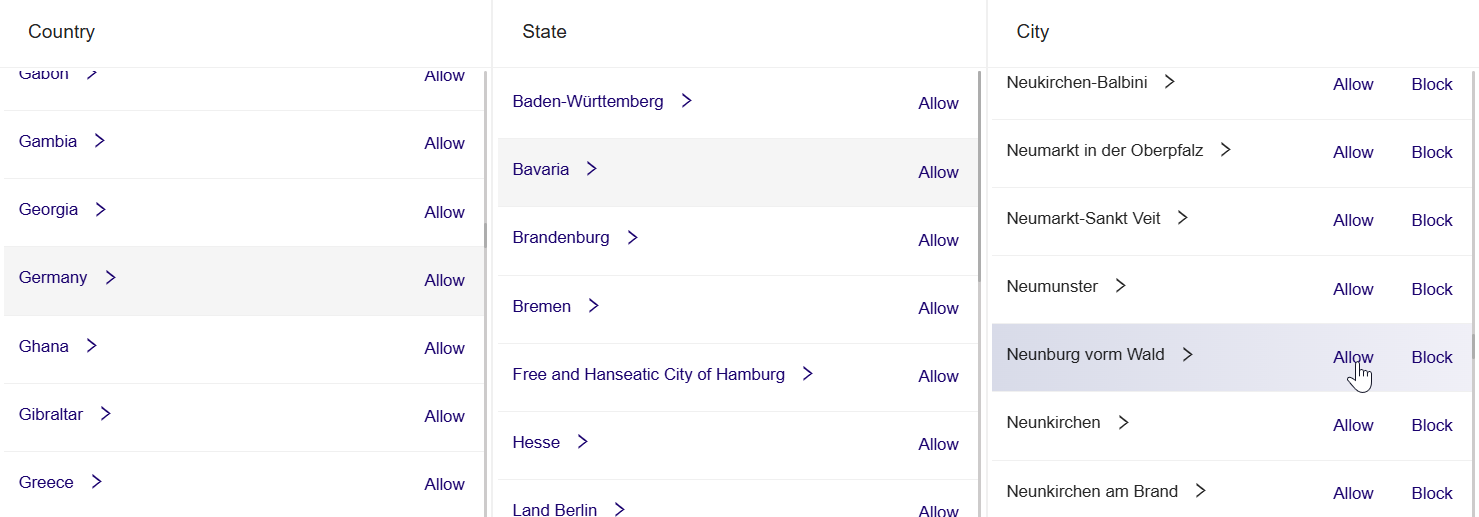
Allow city in deal target
For example, the Figure below shows that selecting Block for Neunburg vorm Wald as a city will exclude it from deal targeting within Bavaria, Germany.

Block city from deal target
- If no cities are required for the deal target, you can skip this step.
5. Summary (Country, State, City)
- This section provides the countries, states, and cities that have been set to Allow or Block for your deal targeting. For example, the Figure below shows that your deal targeting includes Germany, Bavaria, and Neunburg vorm Wald as the selected country, state, and city

Summary section
- Review your selections in the Summary column. To remove a country, state, or city from the selection, click the respective item in the Summary section or use the button located at the top right corner above the City column.

Remove Country/State/City from deal target
6. Save Geo Locations
- After you click either Allow or Block, the Save Geo Locations button will be enabled at the bottom of the Country Summary section, allowing you to save and confirm your Geo Targeting settings.

Save Geo Locations
- After you review your locations, click the Save Geo Locations button to apply the changes to your Geo Targeting setting for your deal.
7. Zip code targeting
- Select either the Allow or Block option from the dropdown menu for the selected zip code for your deal.
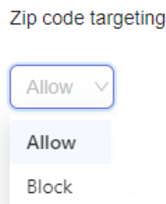
Zip code targeting
- Click the Bulk Upload Template button to download a template for adding multiple zip code entries. For more information, see Zip Code Upload template
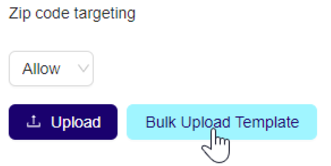
Zip code targeting: Bulk Upload Template
- Open the downloaded template and enter the zip code you want to allow or block for the deal. Ensure the zip code is in the correct format; incorrect formatting will result in invalid entries.
- After you enter the zip codes in the template, click the Upload button.
If the zip code template is uploaded successfully, a confirmation message will display at the top right corner of the Edit Deal page.
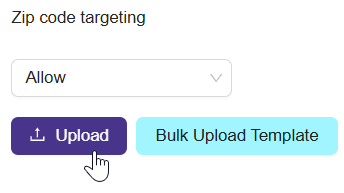
Zip code targeting: Upload template
- You will see the Zip Code Attached - View All label below the Zip code targeting dropdown menu, indicating the number of zip codes added ( for example, 2 Zip Codes ). As a result your deal will be passed downstream to DSPs only for requests that are identified as coming from specific zip codes.
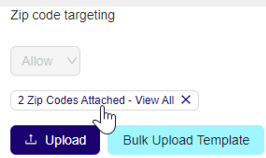
View selected zip code
- Click on the Zip Code Attached - View All label to open the Zip code targeting dialog box.
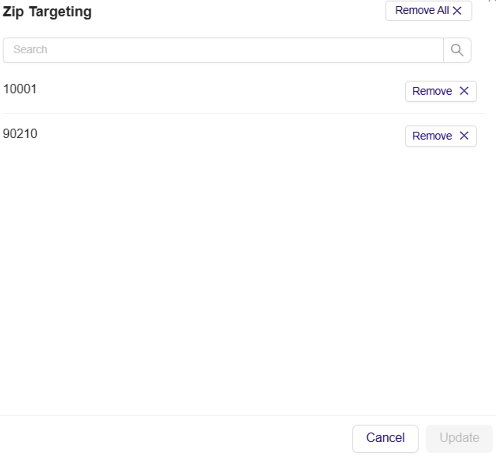
Zip Targeting box
- This Zip Targeting dialog box will display the zip code based on the zip code added in the template.
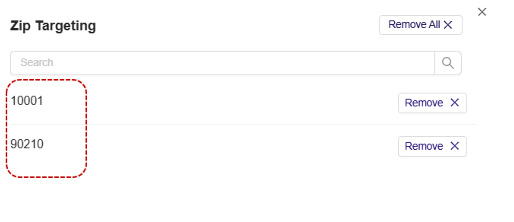
Display zip code
- To remove the zip code, click the Remove X button corresponding to the Zip code or the Remove All button at the top right of the dialog box.
- After removing the Zip code , click the Update button to save the changes.
8. Geo Fencing
This section allows you to choose between Map or Multi ID options.
-
Select the Map:
- In the Geo Fencing section, click the Map button to open the map view.
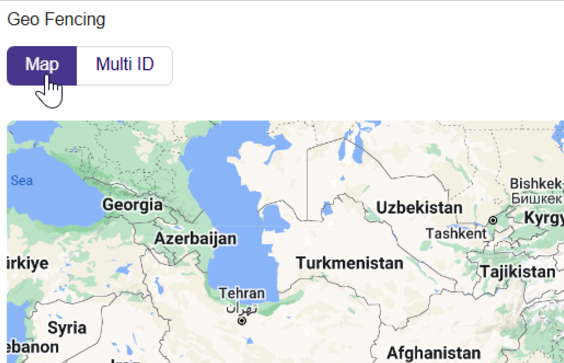
Open a Map
- On the map view, click to place the pin.
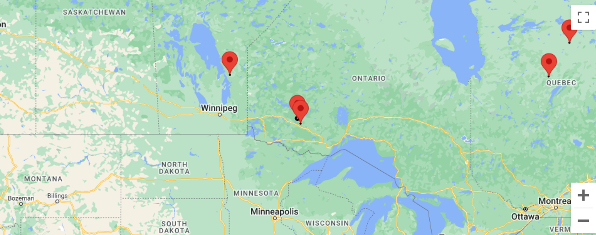
Place the pin
- After placing the pin, the latitude and longitude coordinates (in degree) and the radius (in meters) of the selected location will be displayed to the right of the map.
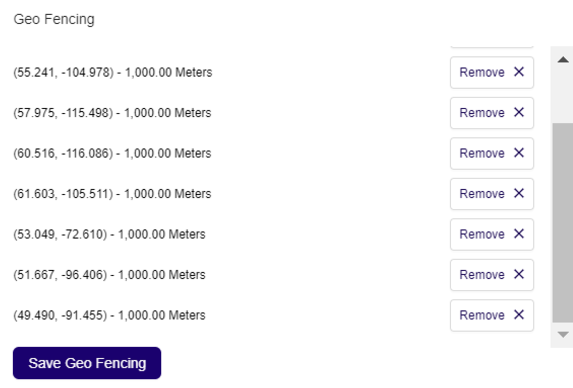
Save Geo Fence
- To adjust the radius, select the pin. An Update radius box will display, allowing you to modify the radius.
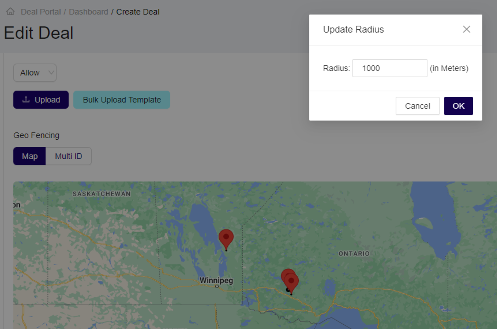
Update radius of Geo Fence
- To remove a specific geo fence, click the Remove button located to the right of the displayed coordinates.
- After you place the pin, click the Save Geo Fence button at the bottom right of the map to save your settings.
📝 Note: A maximum of 500 geo fences can be displayed on the map. -
Select the Multi ID:
- In the Geo Fencing section, click the Multi ID button to manage multiple identifiers for geo fencing. As a result, your deal will be passed downstream to DSPs only for requests that are identified as the ones coming from devices that are within the radius (Length can be defined by clicking on the point on the map) around the defined latitude and longitude.
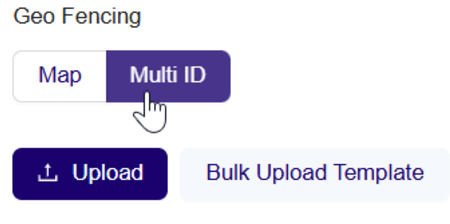
Select Multi ID
- After you click the Multi ID button, the Upload button and Bulk Upload Template button will display.
- Click the Bulk Upload Template button to download the geo fence upload template. For more information, see Geo Fence Upload template
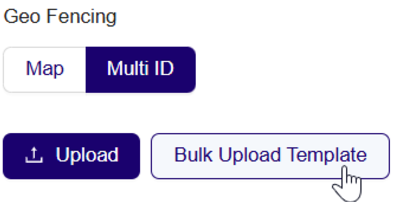
Geo Fencing - Bulk Upload Template
- Open the downloaded template and enter the Geo Fence - latlong and Geo Fence Radius you want to allow or block for the deal.
Ensure the Geo Fence - lat long and Geo radius is in the correct format; incorrect formatting will result in invalid entries. - Click the Upload button to upload a file containing the multiple Geo Fence.
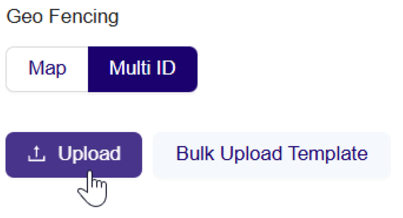
Geo Fencing - Upload Template
- The selected Geo Fence will be automatically populated on the right side of the map, based on the data provided in the template.
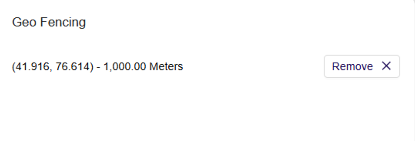
Geo Fencing
- To remove a specific geo fence, click the Remove X button located to the right of the displayed coordinates.